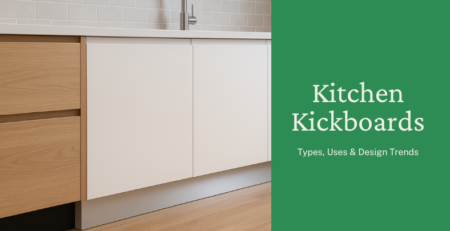
What Are Kitchen Kickboards? Types, Uses, & Trends for Your Kitchen
When you're planning a kitchen, kickboards probably aren't the first thing on your mind. You may think about cabinets...
Kitchen kickboard or kitchen kick plate is a fascia that perfectly fits over the recess at the bottom of a base cabinet, which is installed on the floor; these aids in concealing/ hiding the support of cabinet leg systems. Kickboards must be fixed/ installed to load-bearing floor cabinet’s legs or supports and ensure kickboards aren’t bearing any load.
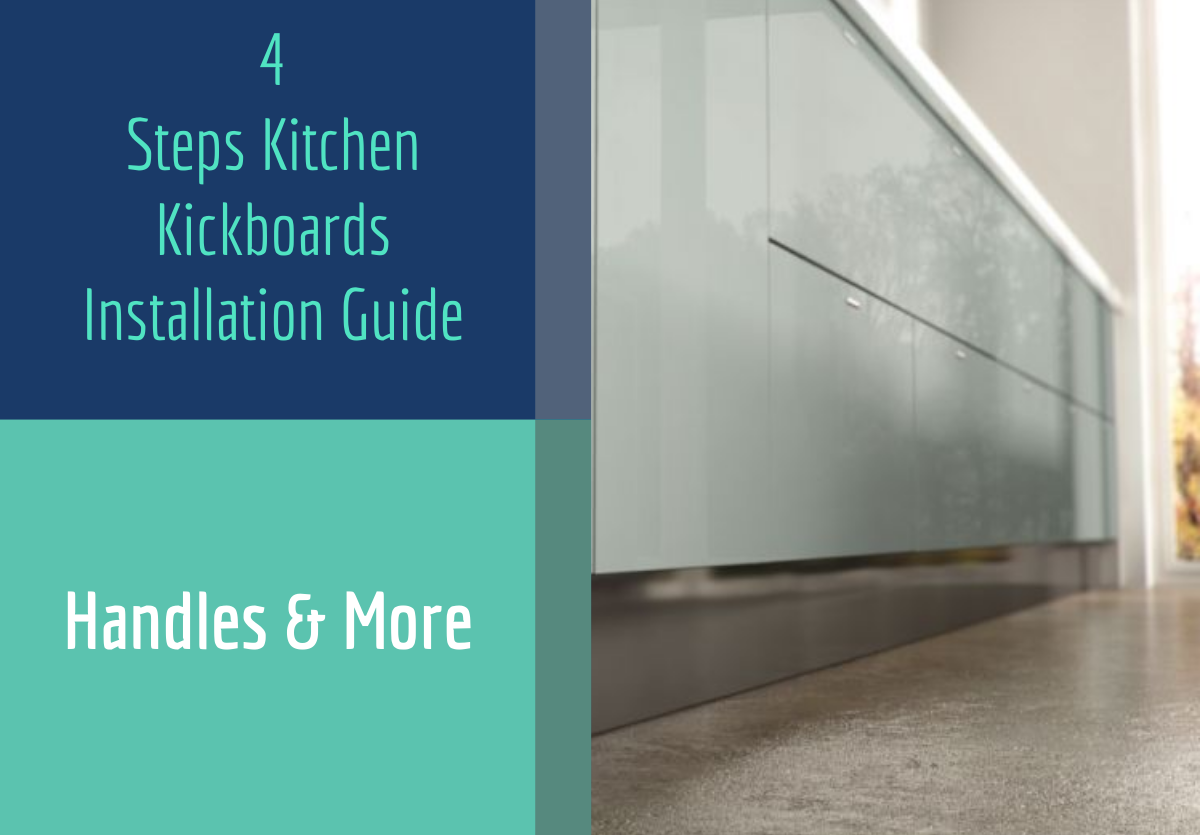
When you’re building a new or renovating your existing kitchen, kitchen kickboards or kitchen kick plates are one of the last things you have to install. This guide will assist you to measure up your drilling points accurately and install your kitchen cabinet kickboards efficiently. In addition, you will learn how to shield the laminate surface while you cut.
First of all, accurately measure the lengths that your kickboards require covering up the space underneath your cabinets, and then mark them with a combination square. Lay your board face down on the sawhorses and cover your cut lines with masking tape to shield laminate’s front from the teeth of your saw blade.
Place some cardboard underneath the kickboard and fasten it to the sawhorses. This will aid in safeguarding the front face from scratching. To trim the kickboard to size, make use of your circular saw. While you’re cutting with a saw, have someone to hold the offcut to make sure you get a really clean cut. This halts the offcut breaking off prematurely and stripping the laminate.
Place in the kickboard beneath the cabinets and up against the legs. In order to measure from the front of the cabinet to the kickboard, make use of your combination square. To get your drilling distance, add half the thickness of your kickboard to that measurement. For instance, if your kickboard is 18mm thick, you’ll need to add 9mm to your measurement and then mark that line on your cabinets.
Now pull out the kickboard and using the line marked out in the previous step, drill pilot holes for the screws. For each cabinet, you’ll need to drill two holes, all the way along the line. It’s time to reinsert the kickboard and screw it appropriately into place using 28mm screws. Screw it till the heads adjust just below the surface, which will give your work a clean finish.
When you’re cutting the kickboard with a saw, it’s vital to safeguard the laminate that’s on its front side. Just turn the board over, so the front face is down. This process will ensure any laminate stripped by the saw will be concealed on the back of the board.
Kickboards are used to cover the space under the cabinet both for hygienic and aesthetic reasons. And kickboards succeed in giving a sophisticated look to the base of your kitchen cabinets effortlessly.


When you're planning a kitchen, kickboards probably aren't the first thing on your mind. You may think about cabinets...